SimpleNext.js
How to use Font Awesome 5 with Next.js
Marouane Reda
If you need to understand the basics of Next.js, i recommend this course. (Disclaimer : this is an affiliate link that may earn me a small commission, but with no extra cost to you if you choose to enroll)
Font Awesome is one of the most popular icon libraries for web apps. This tutorial will show you how tu use it in our Next.js app.
Create a new Next.js project
create-next-app fontawesome-app
Access the project folder and install Font Awesome packages
cd fontawesome-app
npm install @fortawesome/fontawesome-svg-core @fortawesome/free-solid-svg-icons @fortawesome/react-fontawesome
Import Font Awesome in the _app.js page
import '../styles/globals.css'
import "@fortawesome/fontawesome-svg-core/styles.css"; // import Font Awesome CSS
import { config } from "@fortawesome/fontawesome-svg-core";
config.autoAddCss = false; // Tell Font Awesome to skip adding the CSS automatically since it's being imported above


function MyApp({ Component, pageProps }) {
  return <Component {...pageProps} />
}

export default MyApp
Use the Font Awesome icons in your pages or components
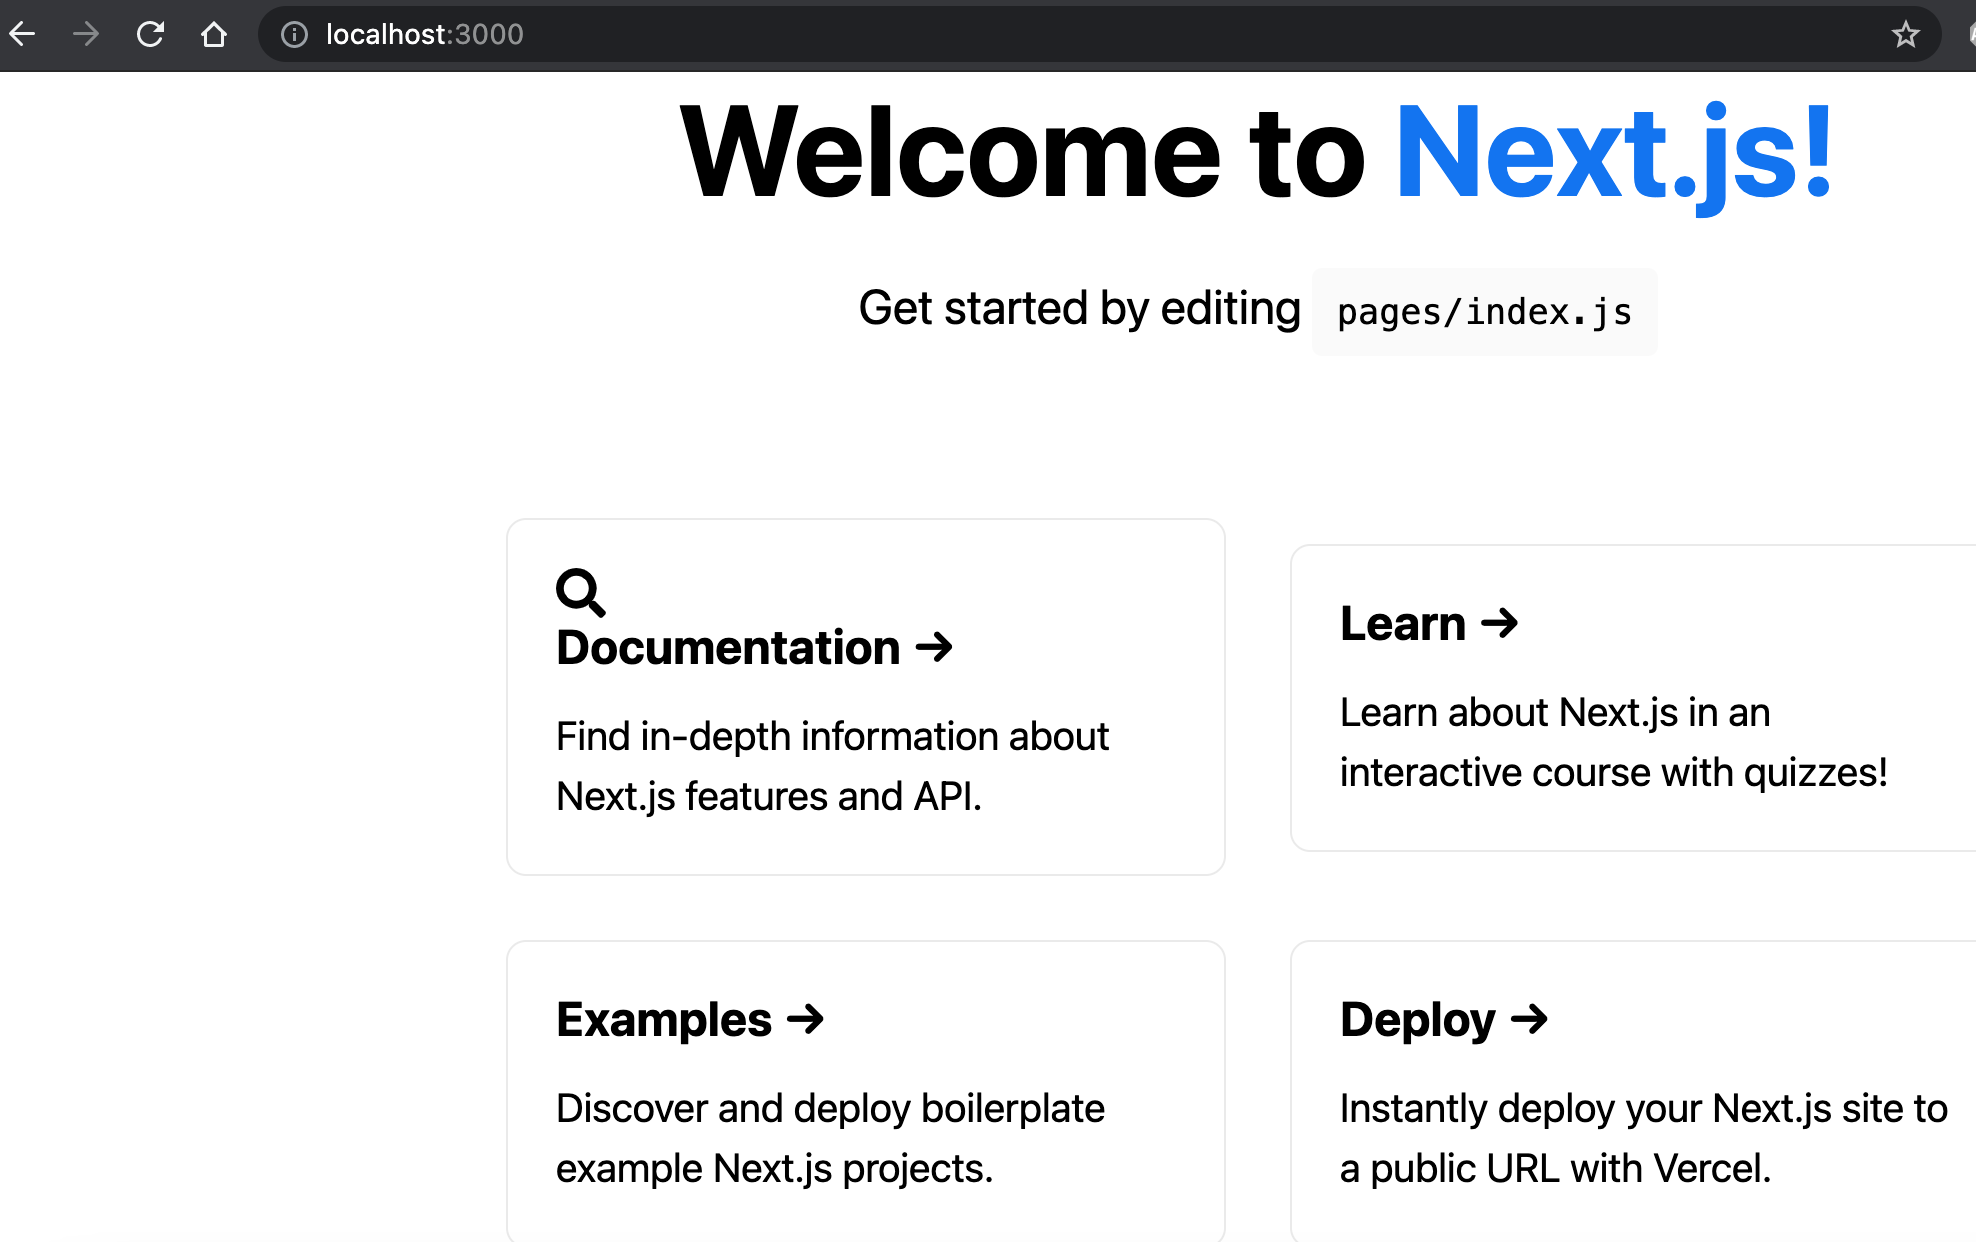
In our case we will add a search icon to default index.js provided when using create-next-app :
import Head from 'next/head'
import Image from 'next/image'
import styles from '../styles/Home.module.css'
import { FontAwesomeIcon } from "@fortawesome/react-fontawesome"; // Import the FontAwesomeIcon component
import { faSearch } from "@fortawesome/free-solid-svg-icons"; // import the icons you need
export default function Home() {
return (
<div className={styles.container}>
<Head>
<title>Create Next App</title>
<meta name="description" content="Generated by create next app" />
<link rel="icon" href="/favicon.ico" />
</Head>
<main className={styles.main}>
<h1 className={styles.title}>
Welcome to <a href="https://nextjs.org">Next.js!</a>
</h1>
<p className={styles.description}>
Get started by editing{' '}
<code className={styles.code}>pages/index.js</code>
</p>
<div className={styles.grid}>
<a href="https://nextjs.org/docs" className={styles.card}>
<FontAwesomeIcon style={{fontSize:"25px"}} icon={faSearch}></FontAwesomeIcon>
<h2>Documentation →</h2>
<p>Find in-depth information about Next.js features and API.</p>
</a>
<a href="https://nextjs.org/learn" className={styles.card}>
<h2>Learn →</h2>
<p>Learn about Next.js in an interactive course with quizzes!</p>
</a>
<a
href="https://github.com/vercel/next.js/tree/master/examples"
className={styles.card}
>
<h2>Examples →</h2>
<p>Discover and deploy boilerplate example Next.js projects.</p>
</a>
<a
href="https://vercel.com/new?utm_source=create-next-app&utm_medium=default-template&utm_campaign=create-next-app"
className={styles.card}
>
<h2>Deploy →</h2>
<p>
Instantly deploy your Next.js site to a public URL with Vercel.
</p>
</a>
</div>
</main>
<footer className={styles.footer}>
<a
href="https://vercel.com?utm_source=create-next-app&utm_medium=default-template&utm_campaign=create-next-app"
target="_blank"
rel="noopener noreferrer"
>
Powered by{' '}
<span className={styles.logo}>
<Image src="/vercel.svg" alt="Vercel Logo" width={72} height={16} />
</span>
</a>
</footer>
</div>
)
}


